n8n is a powerful open-source workflow automation platform that allows you to automate repetitive tasks and connect applications without extensive programming knowledge. Imagine this: data from Google Sheets is automatically sent to Telegram, and notifications from Trello land directly in your email inbox — all running on autopilot. It is ideal for both beginners and seasoned engineers looking to streamline operations.
This guide walks you through the fundamentals of n8n: from the editor interface to assembling your first automated pipelines.
1. Editor Interface and Navigation
General Overview
The editor is centered around the canvas — the primary workspace where you visually assemble automation sequences. From here, you can access your workflows, credentials, and documentation resources.
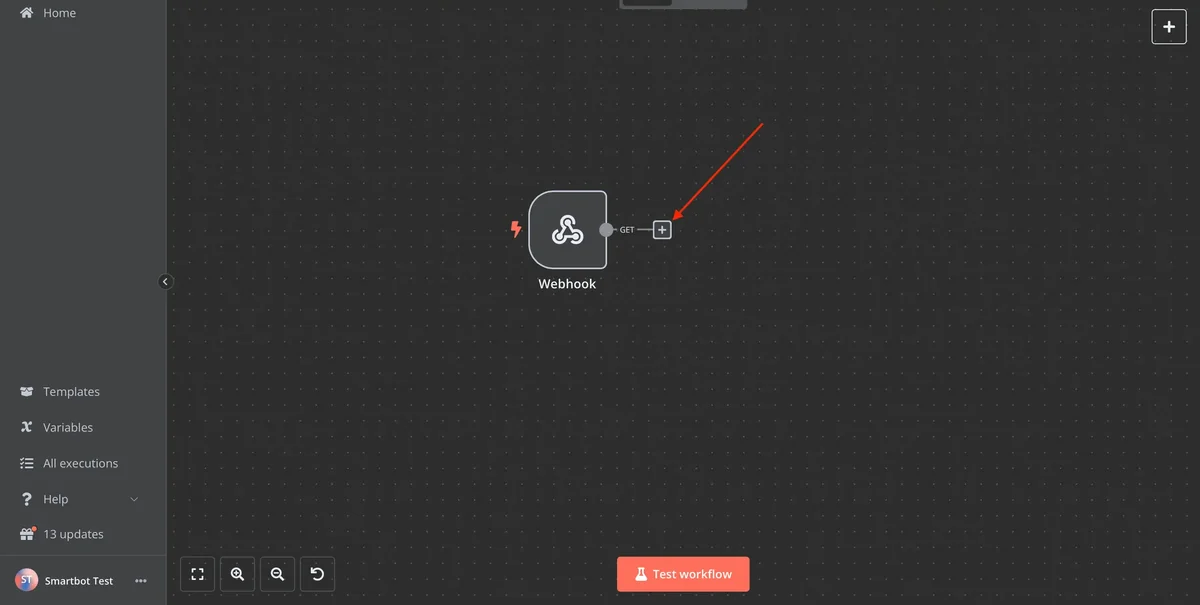 Overview of the n8n Workflow Canvas Editor Interface
Left Navigation Bar
- Locate the n8n logo in the top-left corner.
- Click the icon beneath the logo to open the primary navigation menu containing six sections:
- Admin Panel: For n8n.cloud instances, manages workspace settings and user seats.
- Workflows: Create, open, search, and manage your workflows.
- Credentials: Configure and secure API keys, OAuth2 tokens, and database logins.
- Executions: View detailed logs and histories of full workflow runs.
- Help: Direct access to official documentation, forum discussions, and version info.
- Updates: Check the current platform version and available upgrades.
The Help section also links to the active developer Discord community for live troubleshooting.
Top Control Header
- In the top-left corner, name your current workflow:
- Add custom tags to organize workflows by project or environment.
- Click Save in the top-right corner to persist your changes.
- Toggle the switch to activate or deactivate the workflow (active workflows require at least one trigger node).
Always save manually before closing the browser tab to ensure no unsaved canvas state is lost.
Canvas Workspace
- The canvas is a clean grid workspace:
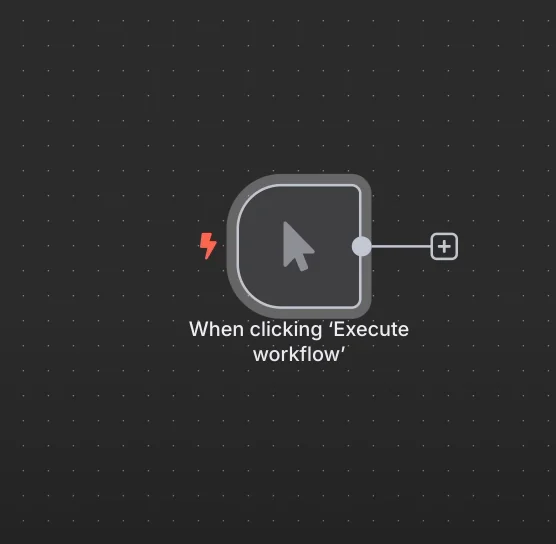 n8n Canvas Navigation and Controls Panel
- Key canvas controls include:
- + and - zoom buttons.
- ← to reset canvas zoom to 100%.
- Execute Workflow to run the workflow end-to-end for testing.
- Orange + button to open the node library panel.
- The default starting point is the green Start node.
Navigating the Canvas
- Hold
Ctrl(orCmdon Mac) + Left Mouse Button and drag to pan across the canvas. - Use two fingers on your trackpad to pan smoothly in any direction.
- Mouse wheel controls zoom level, while right-clicking opens a quick context menu.
2. Node Architecture and Core Types
Node Fundamentals
- Nodes are modular building blocks responsible for processing data: input, transformation, and output.
- There are two primary categories:
- Regular Nodes: Fetch, transform, filter, or dispatch data.
- Trigger Nodes: Listen for external events or schedules to start the workflow.
Each node is customizable: set input parameters, configure output fields, or inject expressions. Hovering over a connection line shows the number of items passed downstream.
Nodes execute sequentially from left to right along their connecting arrows.
Core Nodes
Core nodes handle platform-level operations, such as scheduling (Schedule, Interval) or executing code (Code, Function).
Code nodes allow custom JavaScript or Python scripts when standard pre-built integrations need custom logic.
Adding Nodes
- Open the node panel via:
- The + icon in the top-right canvas header.
- The + icon next to any node's output connector.
- Dragging a line from a node's output connector or pressing
Tab.
- Browse categories: Analytics, Communication, Development, Marketing, Sales, etc.
- Search by node name or service keywords like
email,webhook,sheets, ortelegram.
Node Action Icons
Hover over any canvas node to display its action icons:
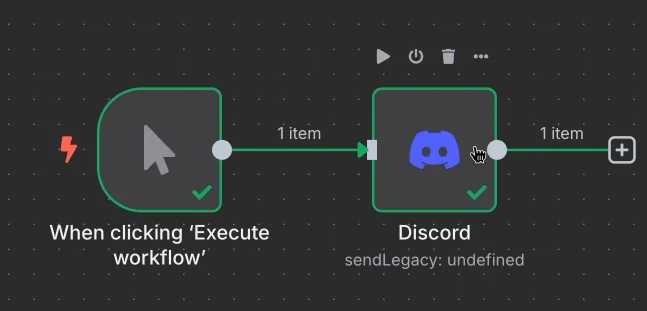 Quick Action Context Menu on an n8n Node (Activate, Delete, Test)
- Trash: Delete the node.
- Pause: Toggle node activation without removing connections.
- Copy: Duplicate the node with all settings intact.
- Play: Execute only this single node for isolated testing.
3. Data Structures: JSON, Arrays, and Binary
n8n structures data using two formats: JSON and Binary.
- JSON: Structured key-value text format used for passing business data (names, IDs, arrays, payloads).
- Binary: Raw file data such as images, PDFs, audio clips, or spreadsheets.
Most automation workflows handle JSON payloads inspected in the node's Output panel.
JSON Format Overview
n8n passes data between nodes as an array of JSON objects:
Binary Data Format
Binary files are encoded in Base64 for seamless transfer between services.
4. Node Connections and Data Passing
A node carries out specific operational instructions:
- Query an external API endpoint.
- Post structured messages to Telegram, Slack, or Discord.
- Transform or compute data fields.
Node parameters window:
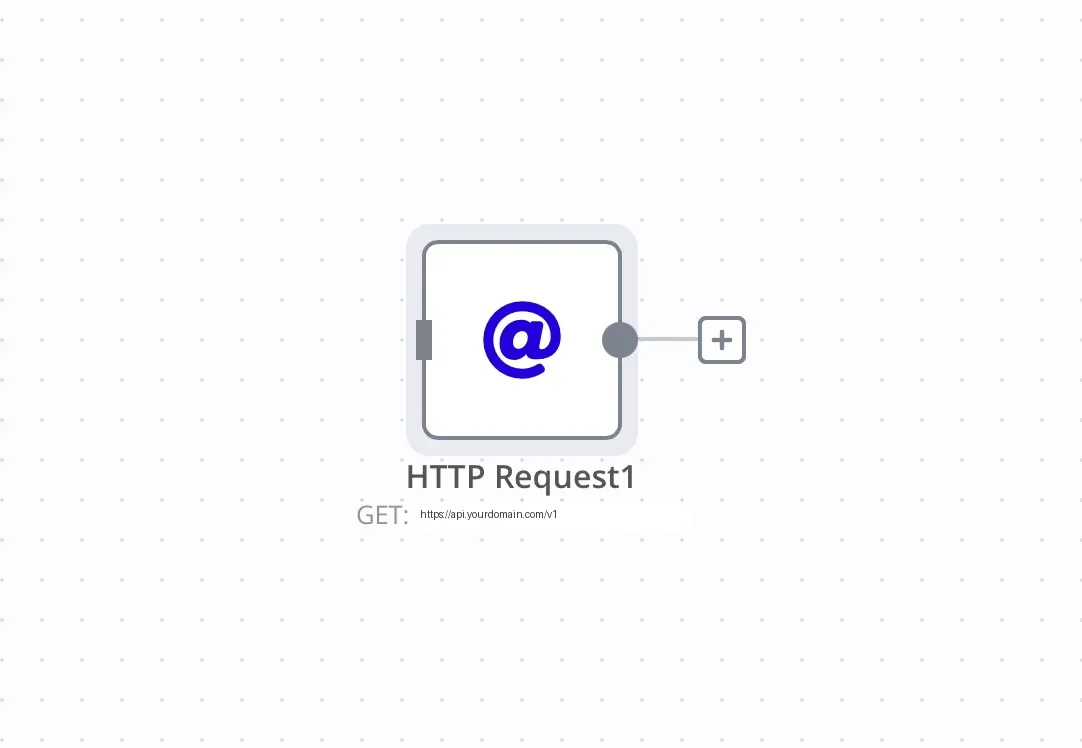 Detailed Parameters and Configuration Window of an n8n Node
Multi-node connection flow:
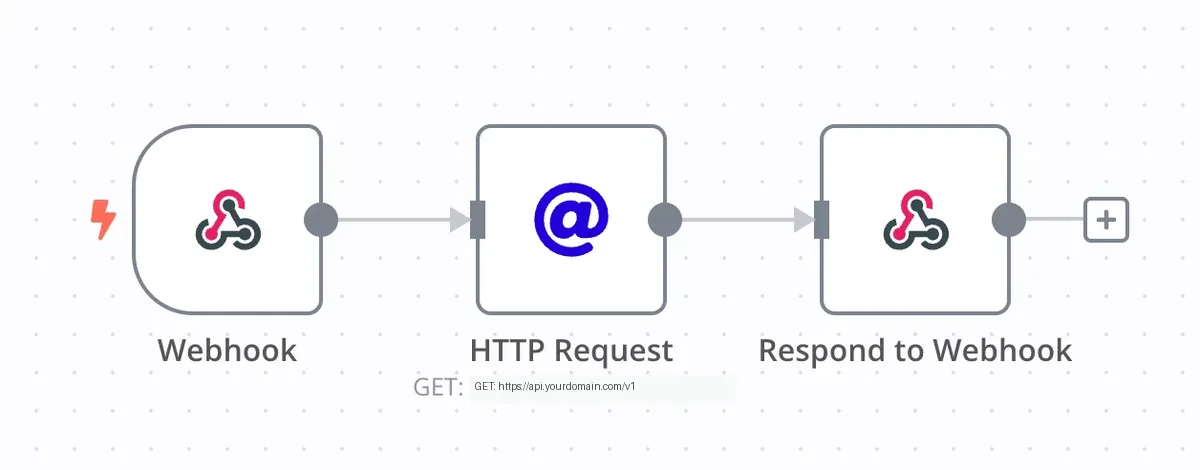 Node Interaction Scheme in an n8n Automation Chain
5. Triggers: Webhook, Schedule, and Events
Triggers are the entry points that activate a workflow when external events occur:
- Webhook: Triggers immediately when receiving an incoming HTTP request.
- Schedule Trigger: Triggers periodically based on recurring intervals or cron expressions:
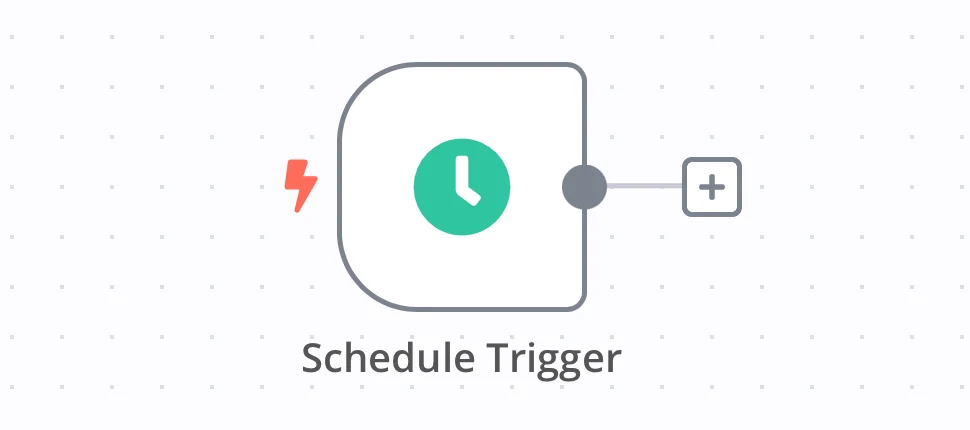 Configuring the Schedule Trigger Node for Periodic Execution
- App Triggers: Real-time event hooks from external platforms (new row in Google Sheets, new CRM contact, incoming message).
6. Execution Modes: Test vs. Production: Test vs. Production
n8n supports two runtime modes:
- Test Mode: Real-time visual testing where intermediate payloads are inspectable step-by-step.
- Production Mode: Headless, high-performance background execution for live traffic.
7. Step-by-Step Webhook Testing
- Add a Webhook trigger node to the canvas:
Overview of the n8n Workflow Canvas Editor Interface- Add an Edit Fields (Set) node:
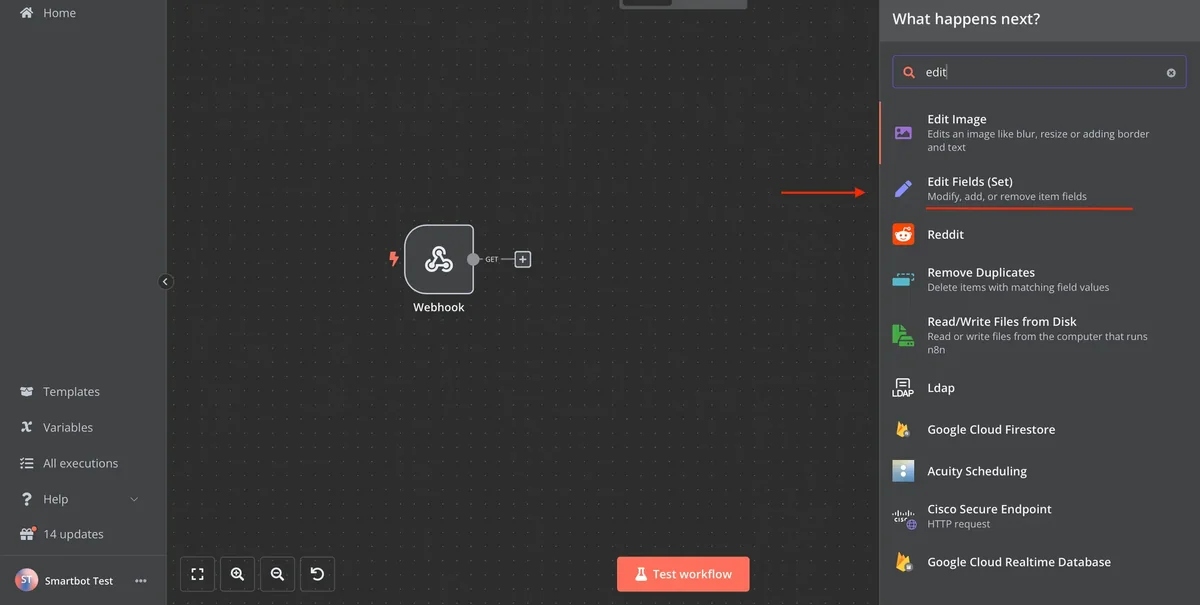 Selecting and Adding the Edit Fields (Set) Node for Data Transformation
- Set field
successtotrue:
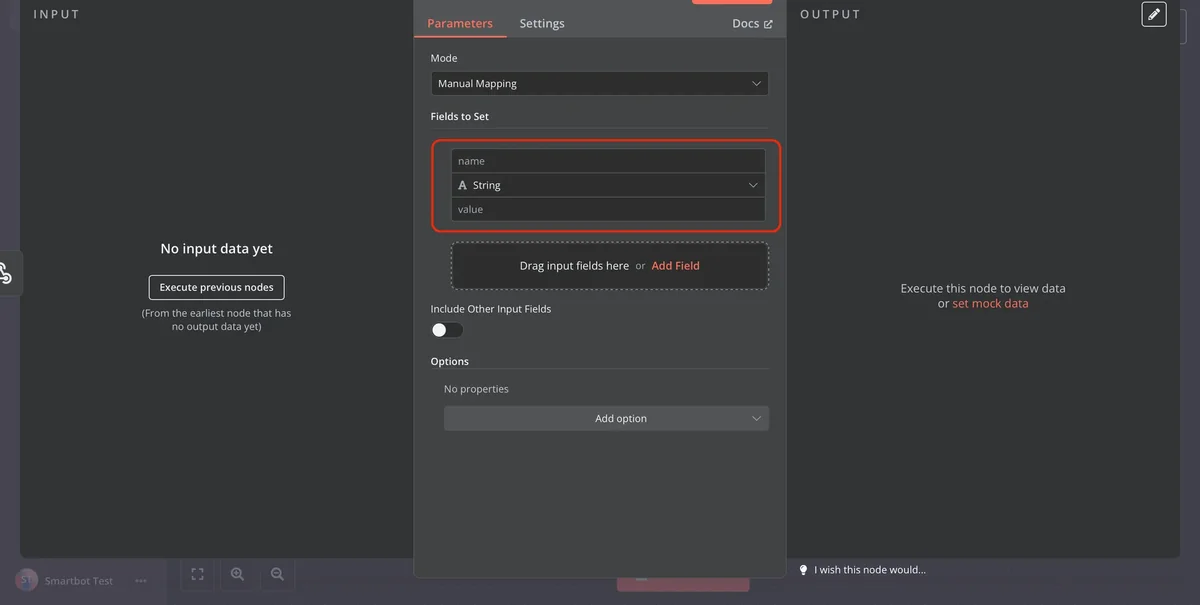 Configuring Input Fields and Assigning Values in the Set Node
- Click Listen for test event:
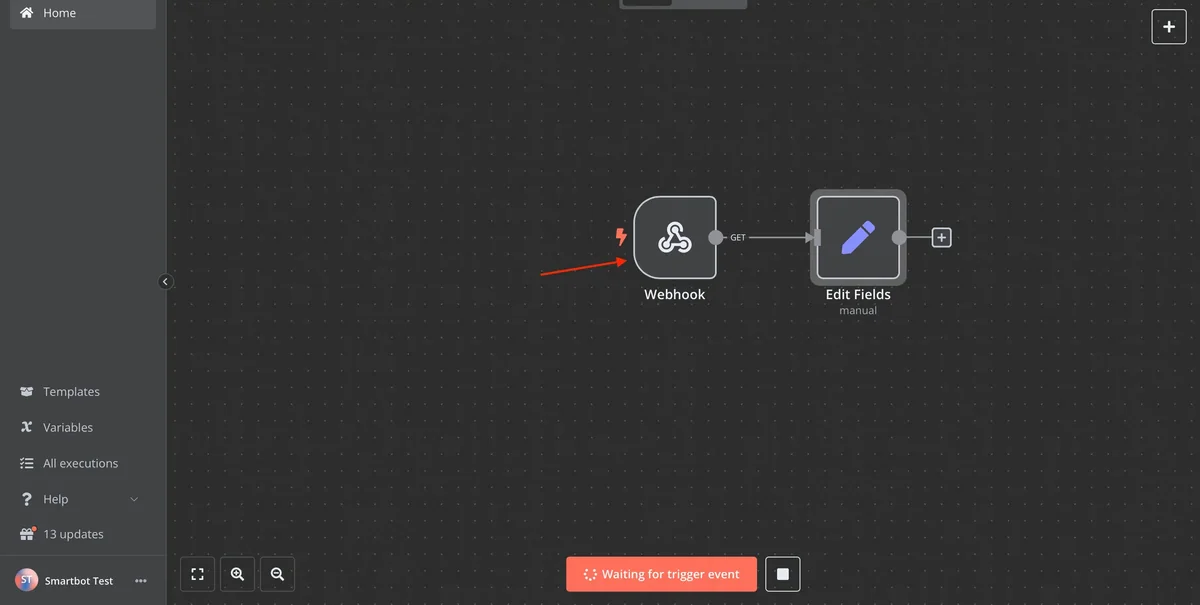 Test Running the Webhook Node and Generating the Test URL
- Copy the generated Test URL:
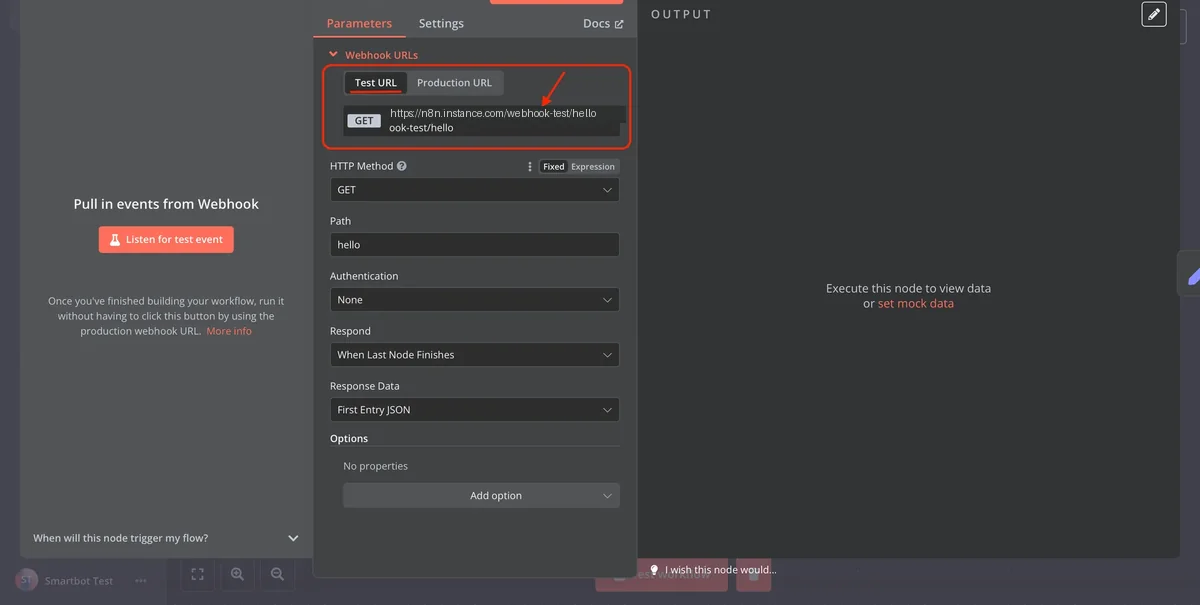 Copying the Webhook Test URL for Sending Requests via Browser or cURL
- Send an HTTP request via your browser or cURL to inspect the returned JSON:
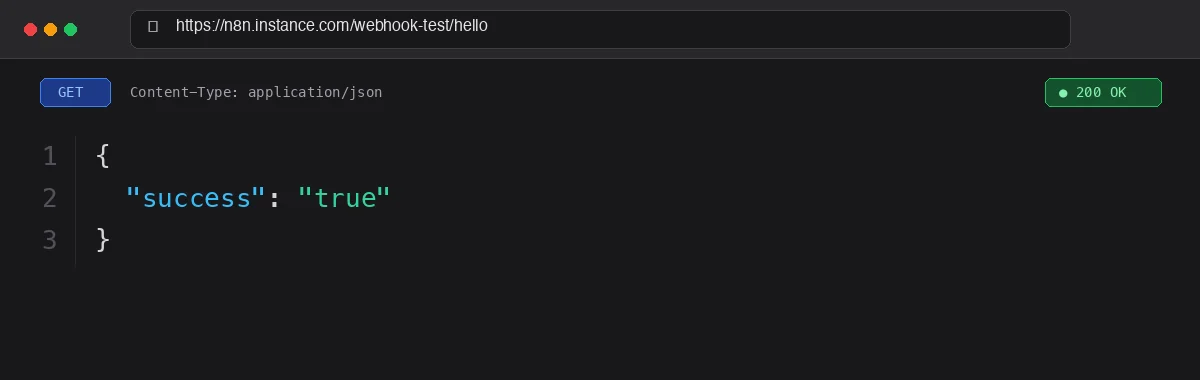 Displaying Successful n8n JSON Response in the Browser Window
- Modify the values and re-test to verify data handling:
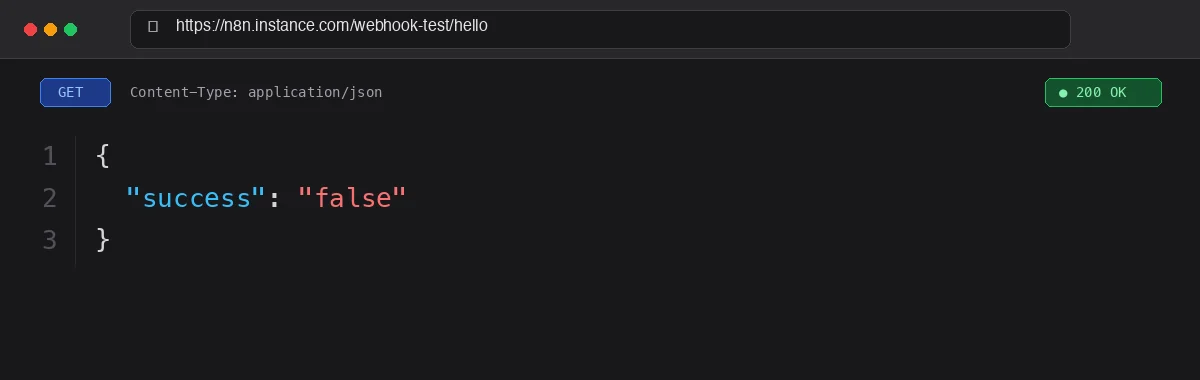 Re-testing with Modified Parameter Values and Validating Updated Data
8. Deploying to Production and Monitoring
When your workflow passes testing:
- Copy the Production URL from the Webhook settings:
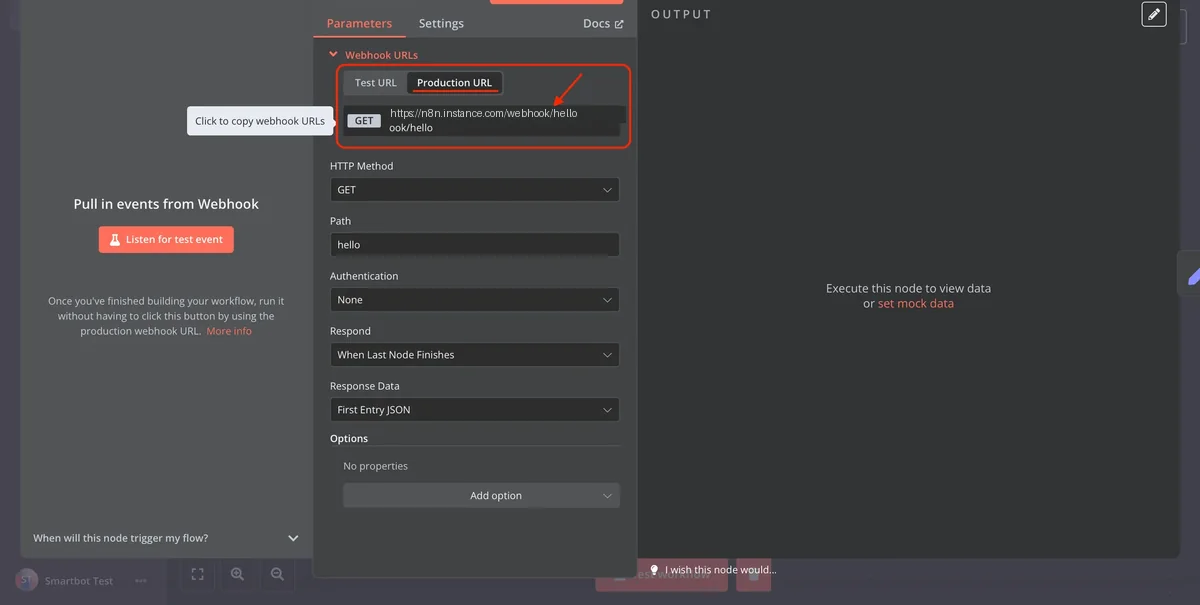 Obtaining the Production URL for Live Webhook Execution in n8n
- Switch the header toggle to Active:
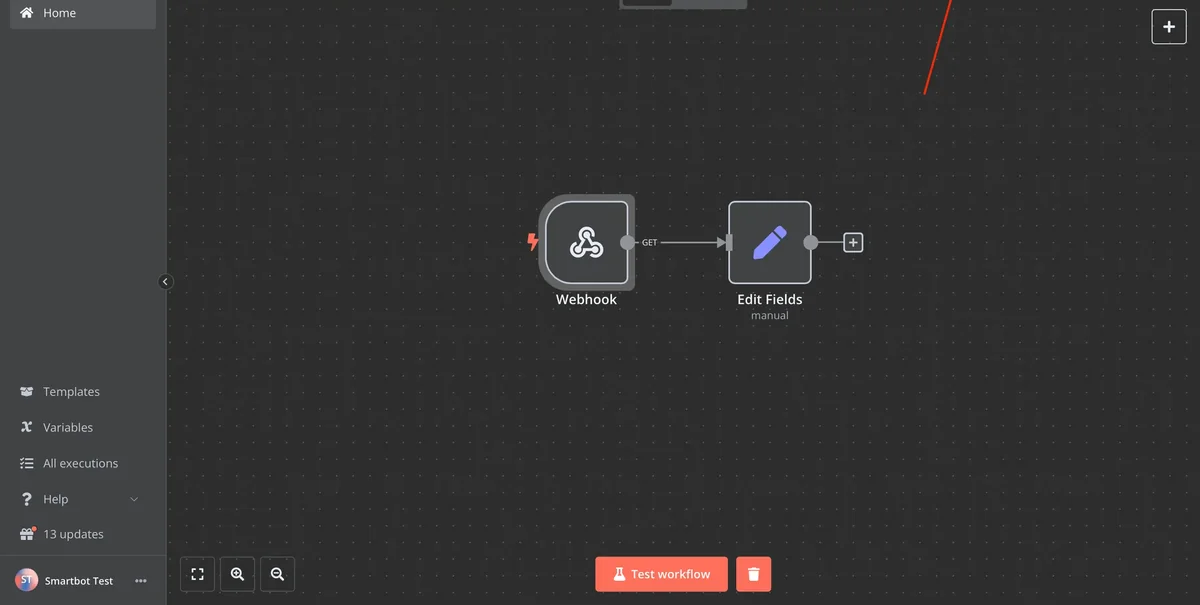 Activating the Workflow via the Toggle Switch in the Top Header of n8n
- Inspect incoming executions and performance in the Executions tab.
9. Conclusion and Best Practices
You now understand the core fundamentals of n8n: canvas navigation, node anatomy, JSON array handling, trigger mechanisms, and switching between test and production environments. You are ready to build reliable automated systems and agentic workflows!